
Need to find your IP address in Windows 11? Here are 4 simple methods, from Settings to Command Prompt, with exact steps for each.
Most people never think about their IP address until they actually need it. Then suddenly it’s urgent. Maybe you’re setting up a home server, troubleshooting a connection issue, or configuring a new router. Whatever the reason, finding your IP address in Windows 11 takes about 30 seconds once you know where to look.
Before jumping in, one quick distinction worth knowing: your local IP address is the one assigned to your device by your router (something like 192.168.1.105), while your public IP is what the rest of the internet sees. They’re different, and the method you use depends on which one you need.
Method 1: Through the Settings App (Easiest)
This is the most straightforward route for most users.
- Press Win + I to open Settings
- Click Network and Internet in the left sidebar
- Select Wi-Fi if you’re on wireless, or Ethernet if you’re plugged in
- Click on your connected network name
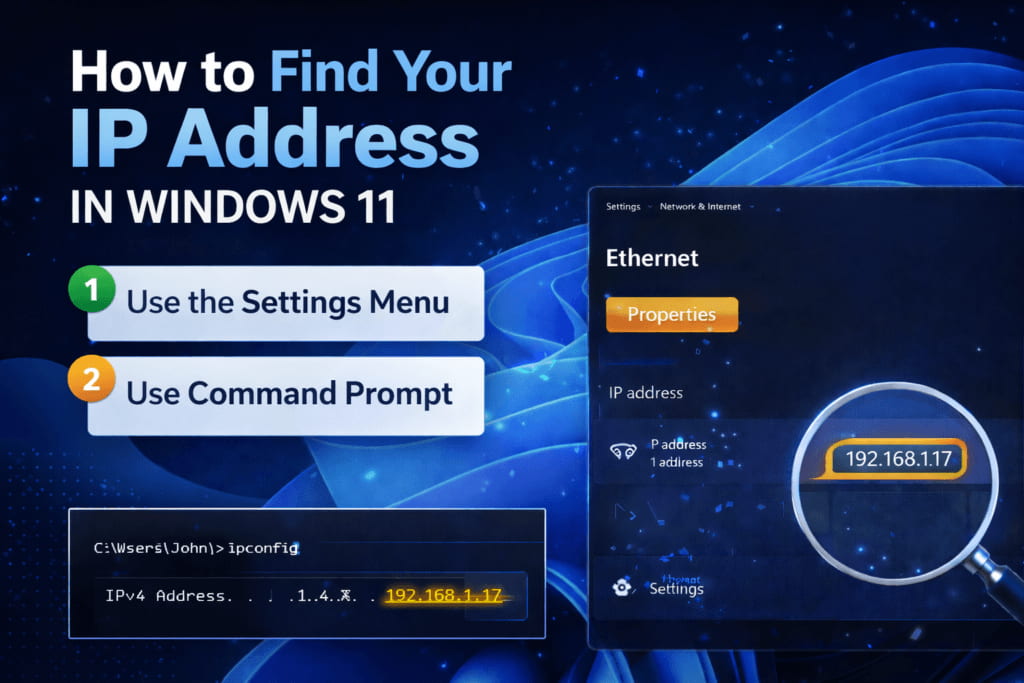
- Scroll down to the Properties section. Your IP address appears next to IPv4 address
You’ll also see your subnet mask, default gateway (your router’s address), and DNS servers listed right there.
On Ethernet? Slightly Different Path
If you’re on a wired connection and the above doesn’t show what you need, go to Settings, then Network and Internet, then Advanced Network Settings, and click Hardware and Connection Properties. Your IPv4 address will be listed under the Ethernet adapter section.
Method 2: Command Prompt (Fastest for Tech Users)
If you’re comfortable with a command line, this takes about 10 seconds.
- Press Win + R, type cmd, and hit Enter
- In the Command Prompt window, type ipconfig and press Enter
- Look for the section labeled Wireless LAN adapter Wi-Fi or Ethernet adapter, depending on your connection
- Your local IP is listed next to IPv4 Address
Want more detail? Type ipconfig /all instead. That gives you your MAC address, DHCP server, DNS servers, and lease information in one shot. And if you’re wondering why some of these settings still live in the old Control Panel, that’s a Microsoft decision with a longer story behind it.
Method 3: Task Manager (Quickest Visual Check)
Not many people know this one, but it works surprisingly well.
- Press Ctrl + Shift + Esc to open Task Manager
- Click the Performance tab at the top
- Select Wi-Fi or Ethernet from the left panel
- Your IP address shows up on the right side of the screen
No typing required. Good option when you just want a quick glance.
Method 4: System Information Tool
This method pulls everything about your system in one place, IP address included.
- Press Win + S and type System Information
- Open the app from the search results
- In the left panel, expand Components, then Network, then click Adapter
- Scroll through the right panel to find your adapter and look for the IP address entry
It’s not the fastest method, but if you’re already digging around in system specs, it’s all there.
How to Find Your Public IP Address
Your public IP is different from your local one. It’s assigned by your internet provider and shared across all devices on your network.
The simplest way: open any browser and type what is my IP into Google. It shows your public IP right at the top of the results, no extra steps needed.
Alternatively, you can type ifconfig.me directly into your browser’s address bar and you’ll see your external IP address on the page that loads.
Local vs. Public IP: Which One Do You Actually Need?
In practice, most troubleshooting tasks (like connecting devices on your home network or setting up a printer) need your local IP. If a game, app, or server is asking for your IP to connect remotely, that’s usually your public IP.
Still unsure? Check both and you’ll have all the information you need.
pv6ndv